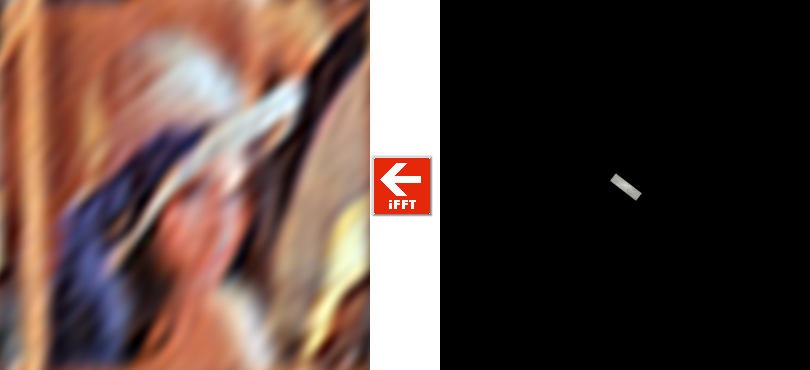
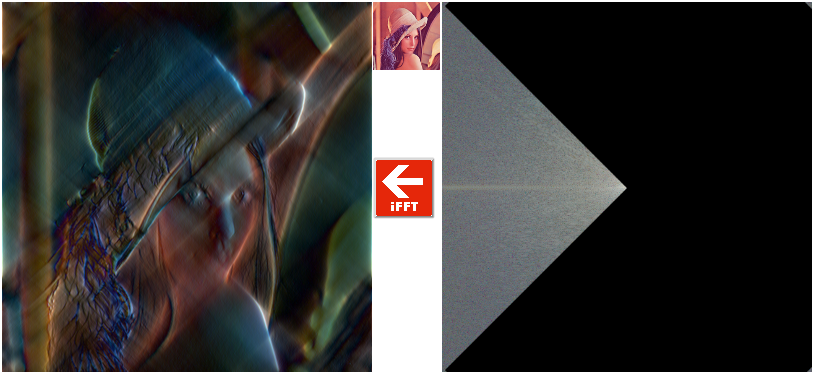
The Fourier image filtering page is an online demonstration of image filtering in the frequency domain. Upload your image and its 2D FFT frequency domain transform is shown. Draw on the FFT image using the rectangle, line or circle/arc tools (use the tool inverse to remove drawn areas) to remove certain frequencies then back transform using iFFT and view the filtered image.
Ejectamenta puzzles now as apps on Facebook
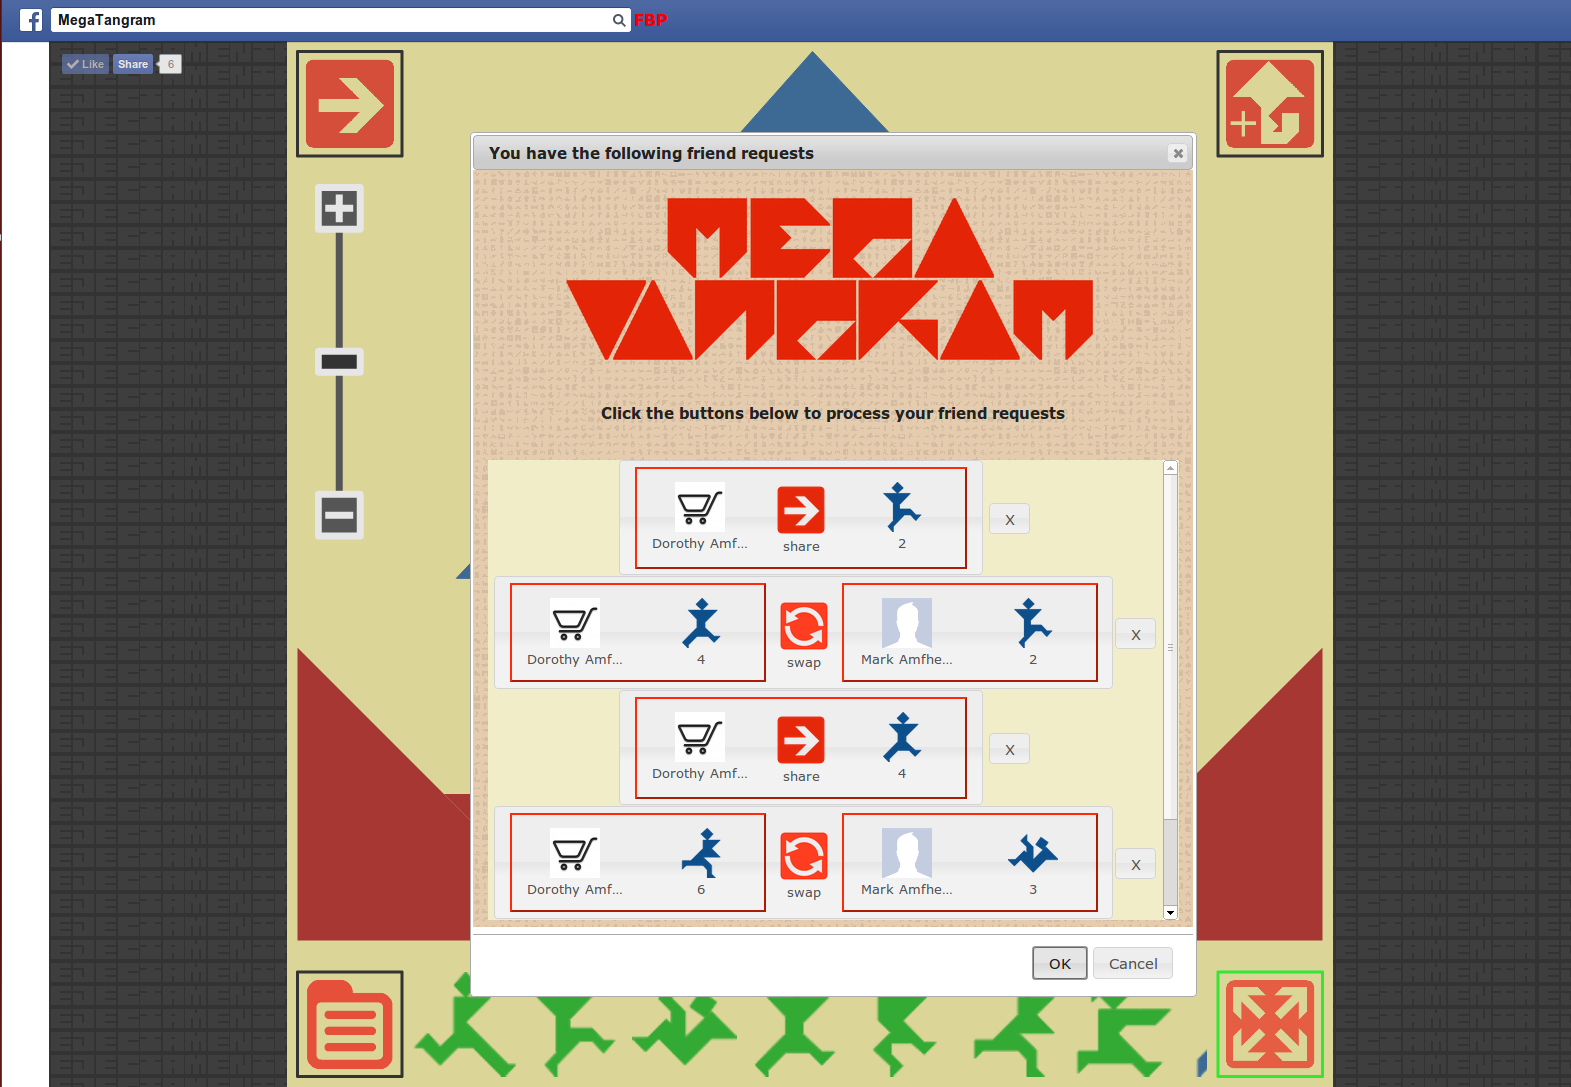
I am working on getting MegaTangram and Hexpac also on Facebook as apps and am working on functionality for sharing and swapping puzzles between friends at the moment. Here is a picture of how MegaTangram is looking at the moment (link not working at present as app in sandbox mode).
Tutorial using Matlab to show how to perform transforms in 3D from one coordinate system to another
For real world vision or Robotic operations it is sometimes necessary to transform between coordinates in different coordinate systems. In this tutorial we will transform a 3D spiral from one coordinate system to another. The coordinate systems are specified in terms of their position in Cartesian space and converted to a vectorial representation.
First let us create and display the spiral
t = 0:pi/50:10*pi;
st = sin(t);
ct = cos(t);
The spiral is in 3D but we need a 4D matrix to perform the matrix transformations, so we also add a row of ones to it
spiral = [st; ct; t; ones(501,1)']
Ok, lets plot the relevant data
plot3(spiral(1,:), spiral(2,:), spiral(3,:), 'b')
we use the hold on command to keep plotting to the same chart
hold on
We are going to translate this spiral from its world coordinates to another local coordinate system
the coordinates are specified by a matrix = [X1, X2, X3, Y1, Y2, Y3, Z1, Z2, Z3]
world = [1,0,0;0,1,0;0,0,1]
local = [3,6,3;3,3,6;3,3,0]
The 3,3,0 in the last row (Z axis) of the matrix creates a 45 degree plane
Lets turn our local coordinate system into a vector
local_vector = zeros(3,3)
local_vector(:,1) = local(:,2)-local(:,1)
local_vector(:,2) = local(:,3)-local(:,1)
local_vector(:,3) = cross(local_vector(:,1),local_vector(:,2))
The vectors should be normalised to unit length like our world vector is
local_vector(:,1) = local_vector(:,1)/norm(local_vector(:,1))
local_vector(:,2) = local_vector(:,2)/norm(local_vector(:,2))
local_vector(:,3) = local_vector(:,3)/norm(local_vector(:,3))
Now we have to create our transform matrix using the dot product between our world and local vectors, this sets up the skew, reflection, rotation elements
transform = zeros(4,4)
transform(1,1) = dot(world(1,:), local_vector(1,:))
transform(1,2) = dot(world(1,:), local_vector(2,:))
transform(1,3) = dot(world(1,:), local_vector(3,:))
transform(2,1) = dot(world(2,:), local_vector(1,:))
transform(2,2) = dot(world(2,:), local_vector(2,:))
transform(2,3) = dot(world(2,:), local_vector(3,:))
transform(3,1) = dot(world(3,:), local_vector(1,:))
transform(3,2) = dot(world(3,:), local_vector(2,:))
transform(3,3) = dot(world(3,:), local_vector(3,:))
we also add the translated origin of our coordinate system to the last column of the matrix, this performs the X,Y,Z translation
transform(1,4) = local(1,1)
transform(2,4) = local(2,1)
transform(3,4) = local(3,1)
transform(4,4) = 1
So using our transform we can rotate the spiral by 45 degrees and translate it by 3 in X and 3 in Y
tspiral = transform*spiral;
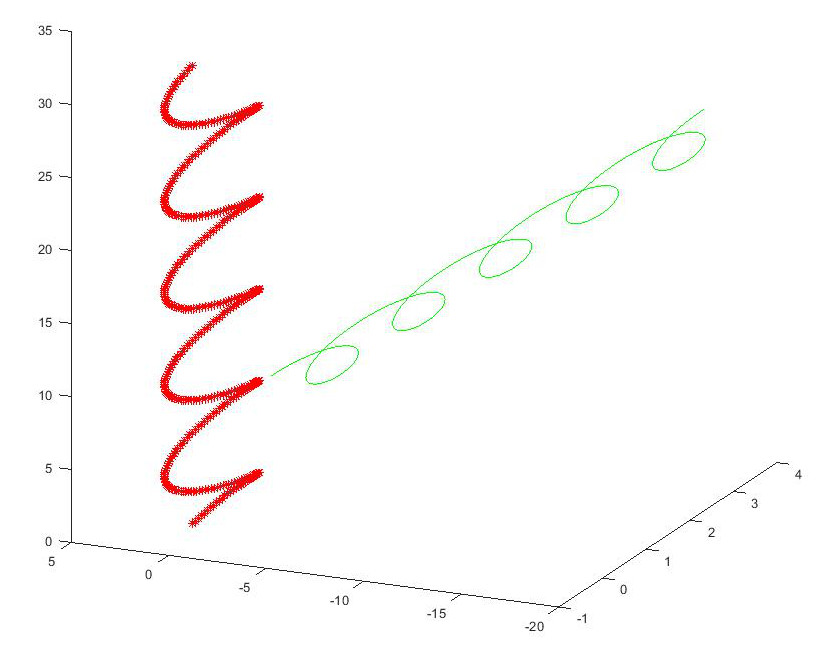
let’s plot it in green next to the original spiral
plot3(tspiral(1,:), tspiral(2,:), tspiral(3,:), 'g')
(you might want to rotate the plot axis now to see the two spirals in 3D)
now to get it back again we use the inverse of our transformation matrix
tunspiralInv = inv(transform)*tspiral;
and plot it using markers so we can see the orginal spiral beneath
plot3(tunspiralInv(1,:), tunspiralInv(2,:), tunspiralInv(3,:), ‘r*’)
The plot should look like this
For the mathematical details behind the transform, these MIT lecture notes provide an excellent explanation.
If you find the article useful, please feel free to post a link to it
Code2HTML web tool
Code2HTML is a webtool that allows you to convert computer code into a form suitable for webpages. Its a basic cut and paste job. It also colour convert /* */ style comments and encloses with “pre” and “code” html tags for correct displaying. Here you can see an example of converted php/smarty code .
Chemical Music: now at lower frequency audio
Animated gif of a wrestling scene created from an Egyptian mural
I made this animated gif from a wrestling scene from an Egyptian mural approximately 4000 years old, found in the tomb of Khnumhotep. It is the earliest known animation sequence
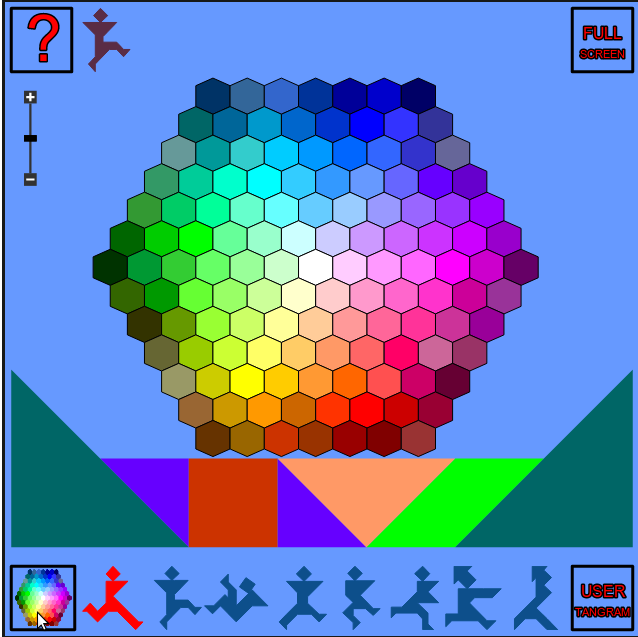
Colour your tangrams, user tangrams, or mosaic designs using the colour chooser control
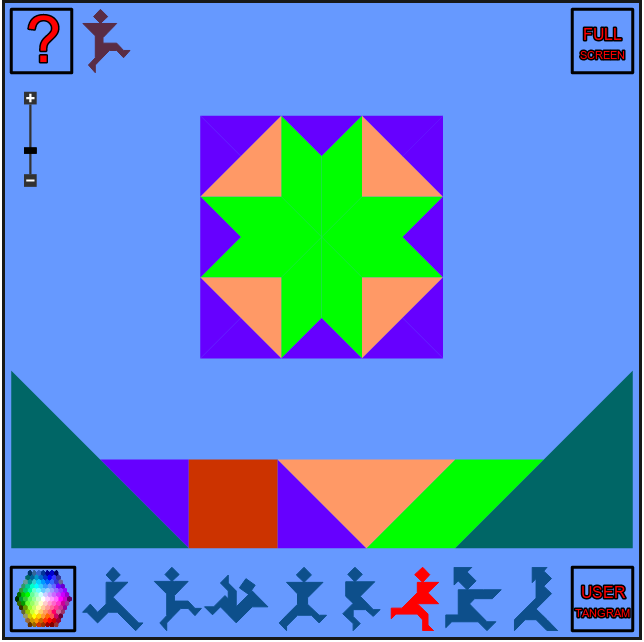
On the bottom left of the tangram screen is a new colour chooser control. By clicking on this control different colours can be selected. By changing the scale control the brightness of the colours can also be changed. Once you find a colour that you like you can change the colour of the tangram shape by clicking on one of the shape types. You can also change the colour of the background by clicking on the background. By using different coloured pieces in the user tangram mode interesting mosaic designs can be created such as shown beloram mosaic”>
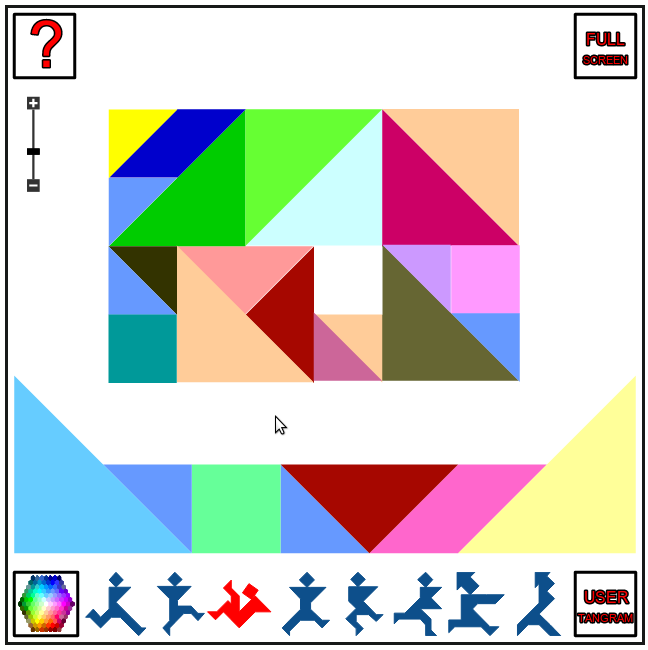
By first clicking on the colour chooser and releasing the mouse button on the tangram piece (equivalent to dragging a colour from the colour chooser to a piece) each tangram piece in play can be individually coloured. The image below shows an example of individually coloured pieces used in a pattern.
To remove the colour from a piece click on the piece and release the mouse button on the puzzle area background. Setting the colour of an individual piece overrides the colour setting for the piece type. To restore the colour for the piece type remove the individual colour. If the piece type colour is removed, the colour of the piece type defaults to grey.
User tangram puzzles can now be saved and viewed in the user home page area
The user home page is a place where you can view all your completed puzzles. The tangram puzzle now has the ability to create your own tangram puzzles using unlimited amounts of the 7 tangram building block pieces.
To do this just click on the user tangram button in the top right corner of the
MegaTangram screen and start building your tangram design. To save your user tangram click the button again. The new puzzle will be added to the user home page and also shown in the completed puzzle area on the top of the puzzle screen.
Full screen mode
The MegaTangram puzzle has a full screen mode that can be started by clicking on the full screen button. Clicking again on the button goes back to normal webpage mode (in Firefox you may need to use the escape key, on Opera by right clicking it can be found as a menu option).
Full screen mode has been tested and is working well using Google Chrome, Firefox and Opera (12.1) web browsers, it is untested on safari but should work, to my knowledge fullscreen mode is not supported by internet explorer browsers.
Unfortunately for those with iPads and Android tablets, the fullscreen API is not supported on mobile browsers is not supported to my knowledge, however since the webpage resizes to suit the browser page width you can anyway get close to full screen size.
more information on full-screen support can be found here
Construct your own tangram picture using as many shapes as needed
By clicking on the user tangram button a tangram picture can be designed. As many shapes as needed can be dragged from the bottom of the screen into the puzzle area to use making a pattern or picture. Zoom in and out and move the canvas around to give yourself more space in which to build. User tangrams can be seen on the user home page as well as in the MegaTangram game